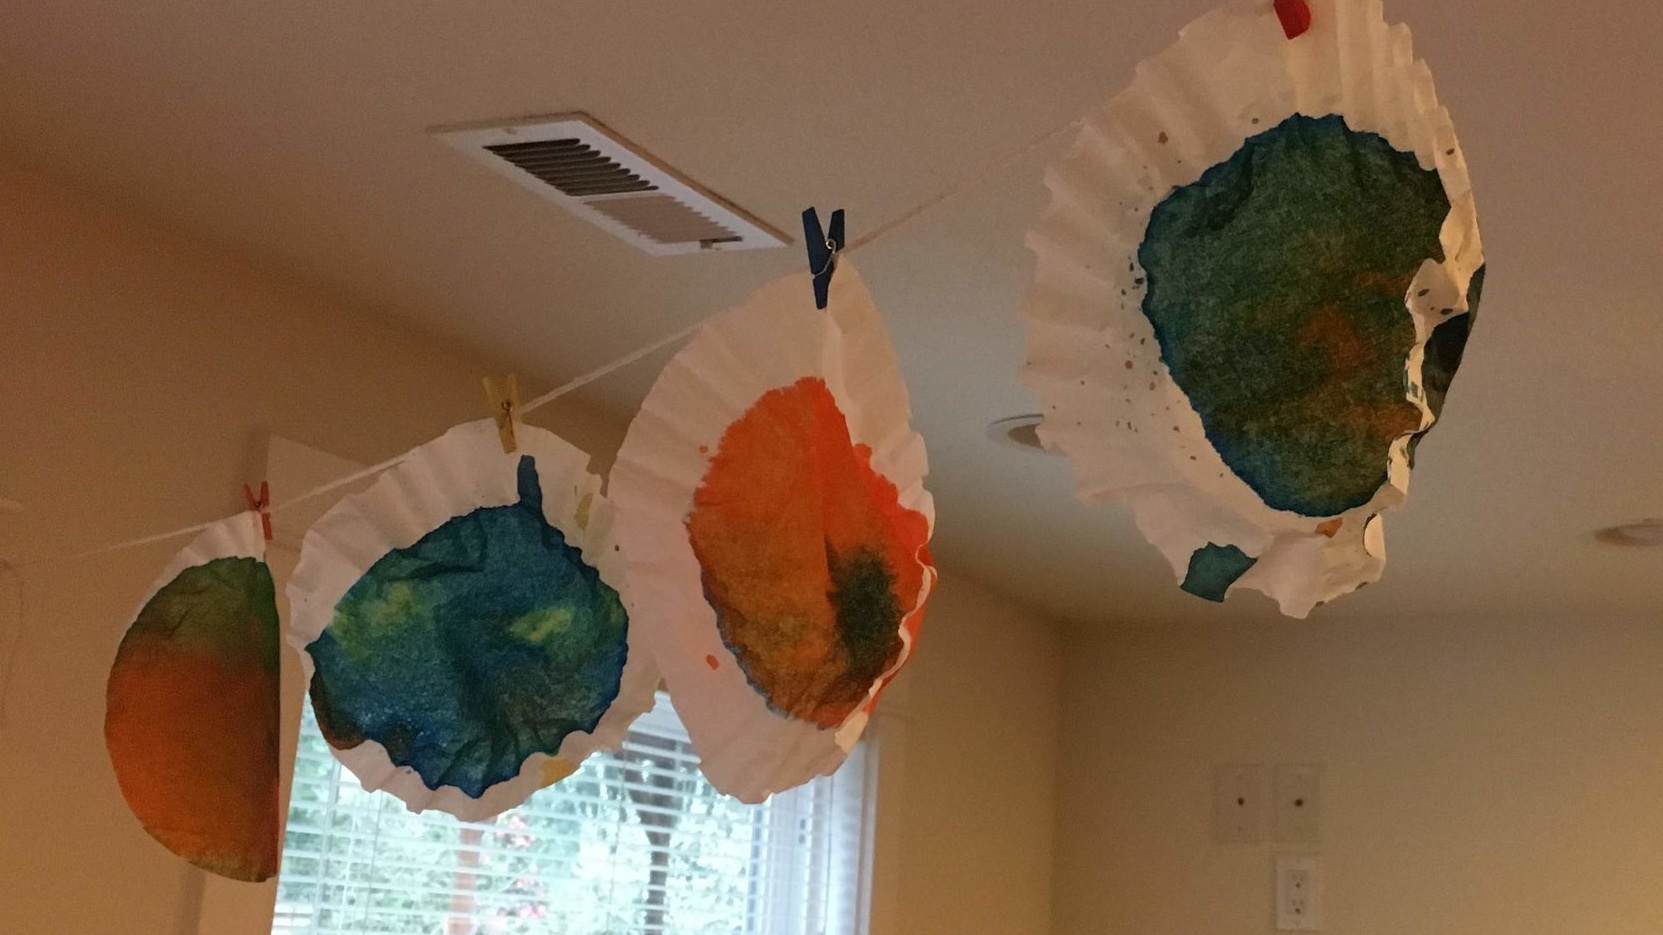
We recently started playing around with coffee filters, and they are SO MUCH FUN! If you haven’t tried coffee filter art and science projects with your kids, I urge you to give it a try!
Orange and blue filters
Our first experiment used liquid water colors and pipettes. I found both online, and we used trays under the papers to keep the liquid somewhat contains. The good news was that water colors clean up easily of most hard surfaces, like tables and hardwood floors. We used pipettes and liquid water colors because it’s great practice for fine motor control, and it’s a fun and quick way to learn about color.
We learned that orange and blue are not a good color combination, as they mix to make brown. On our second attempt, we used red and purple. These were lovely, especially when the light came through them as they were drying.
We used both sets to make butterflies with pipe cleaners. Perfect decorations for spring!
Coffee filter butterflies
Filters in water
I read about a science experiment using coffee filters, water, and washable markers. Draw along the edge of the circle on the filter, forming a big “o” shape. Use a pencil to write the name of the color in the middle of the circle. Then fold it in half twice (quarters), and put the folded corner in a little bowl of water, without letting the water touch the colored circle. It only takes a few moments for the water to wick through the filter, dragging the color from the markers with it. The different shades within each color will separate as the water spreads. The look was stunning, and it happened very quickly.
Have you used coffee filters in your art and science projects? What are some of your favorite ways to use coffee filters?
Black marker!


